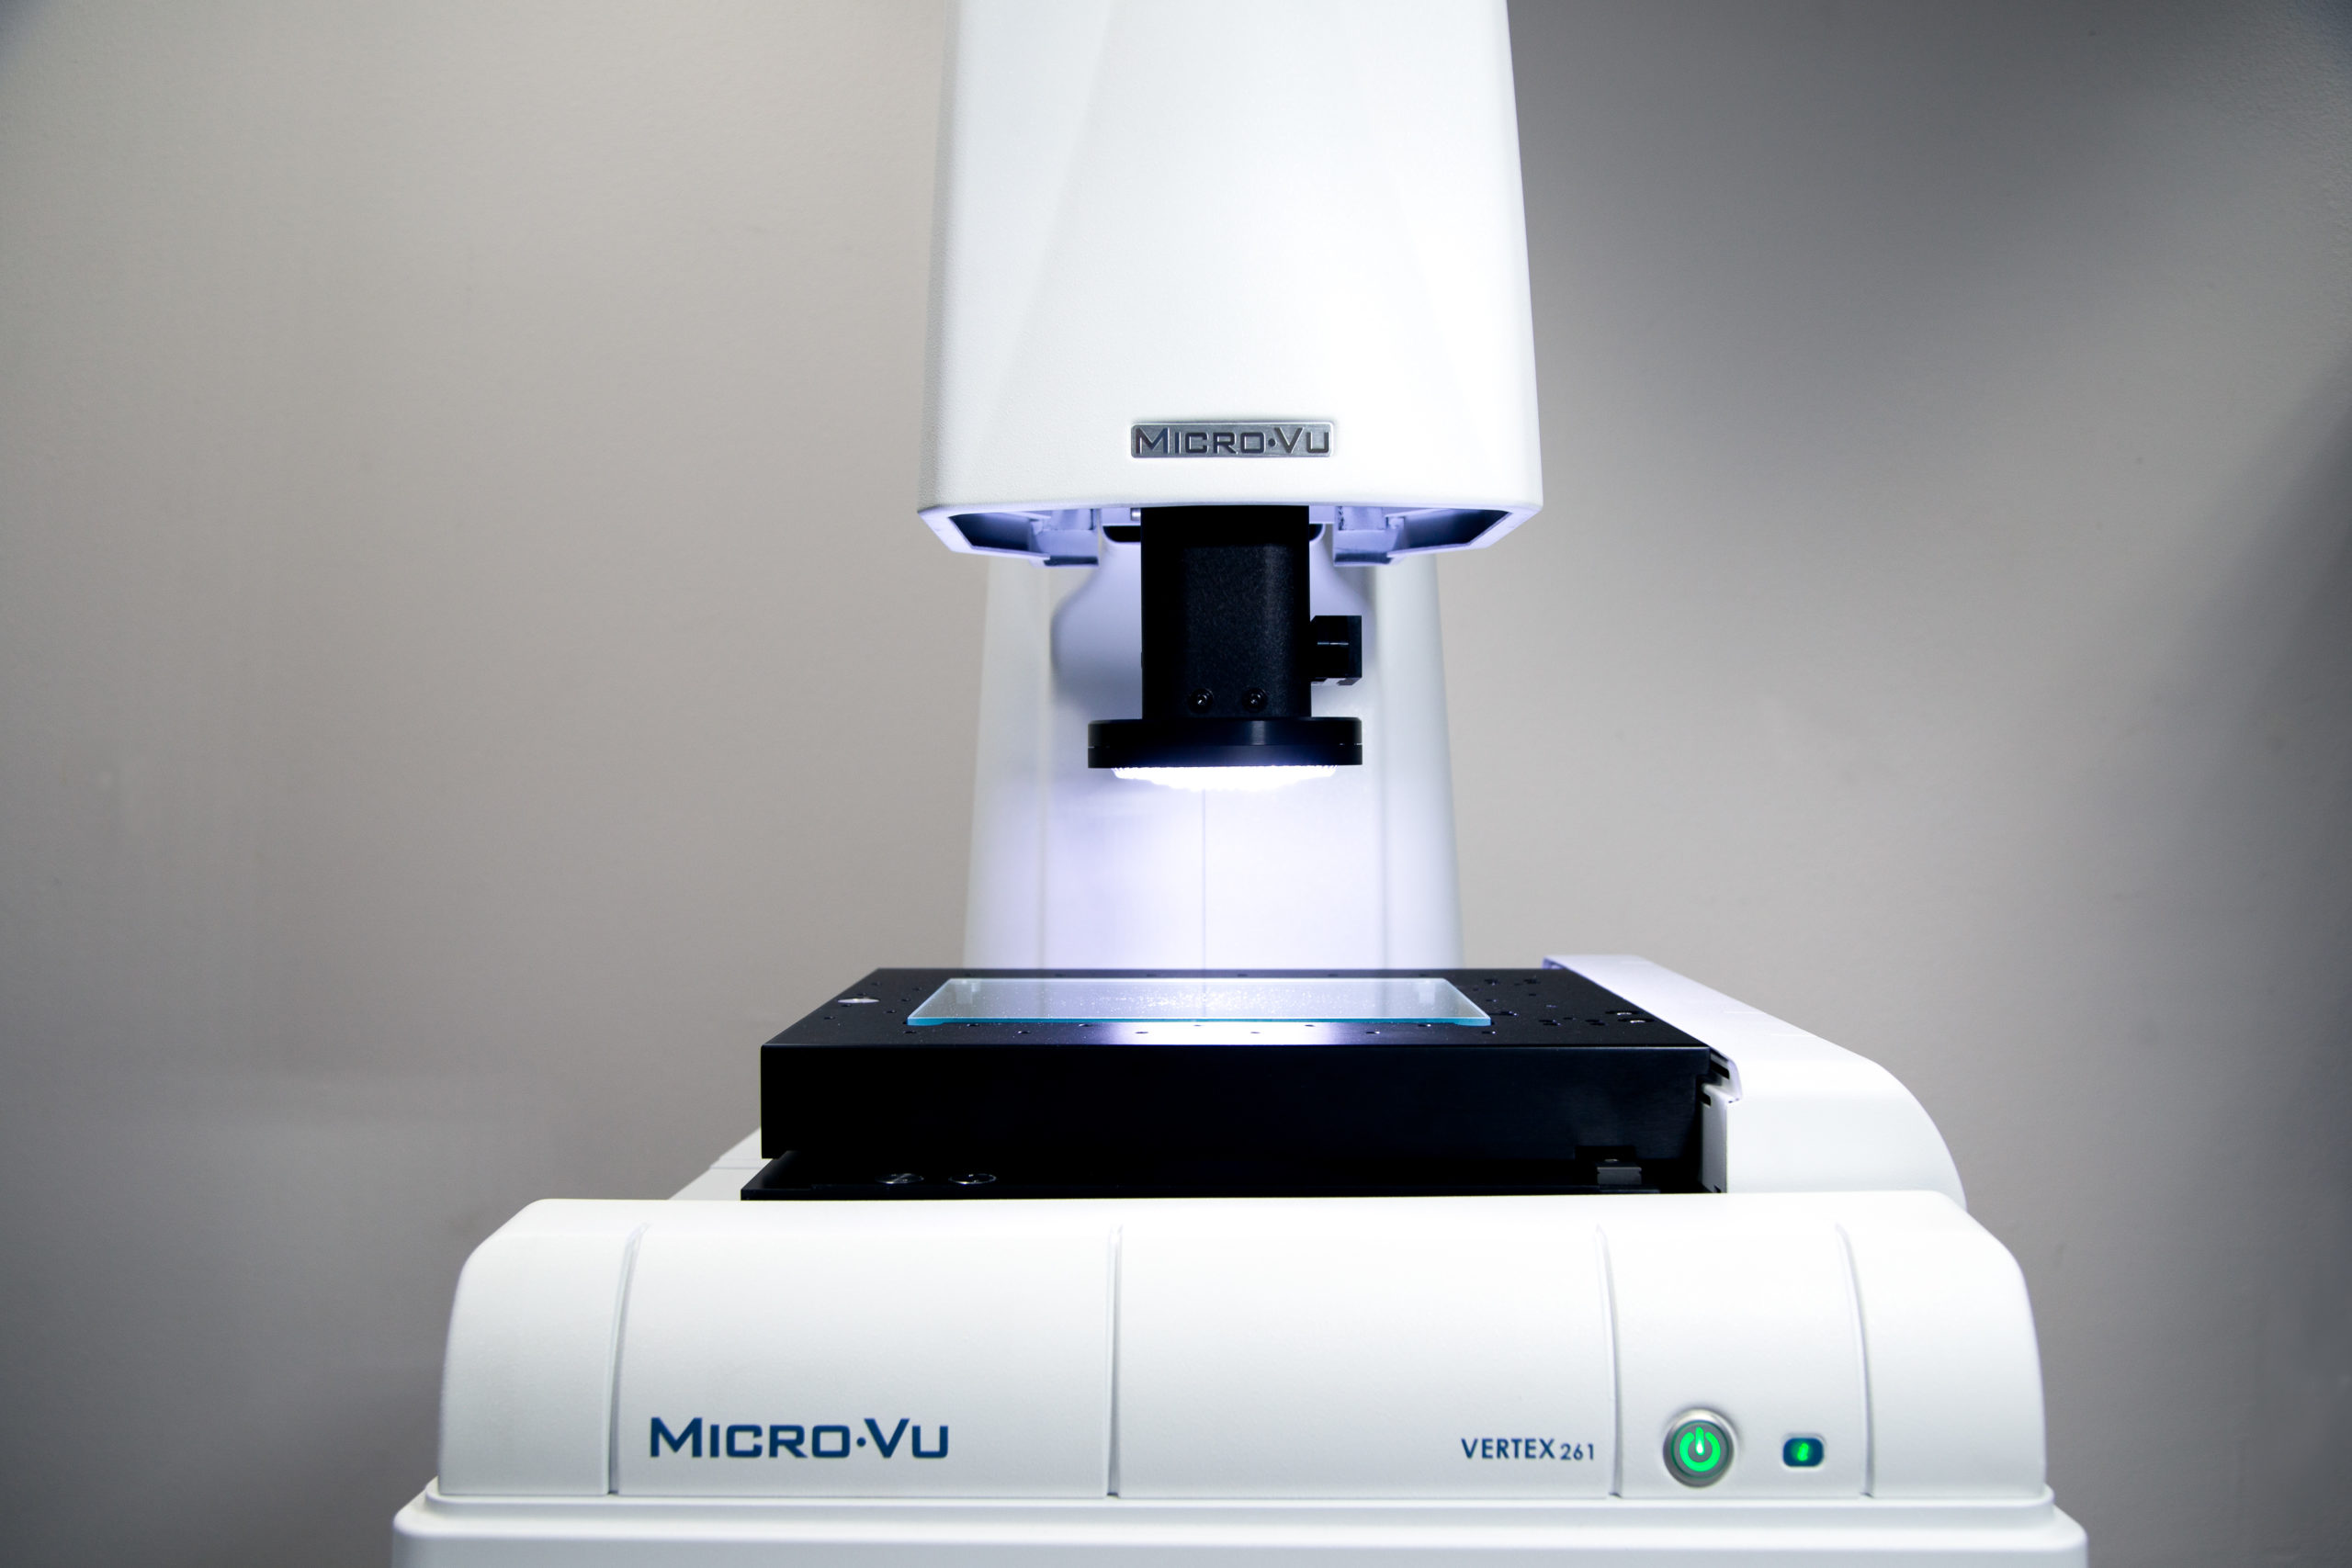
ViciVision manufacturers advanced measurement solutions for turned components, with machines that deliver the fastest measurement using a combination of video and light projection, providing top of the range performance in a practical, compact design.
ViciVision machines are a unique devices for turned and ground pieces. Their designs give direct access to the piece, ensuring practical loading for both small and large components. The full metal housing provides excellent protection from oil in the working environment and the new photoelectric cells make the measuring process safer.
M1
Please contact us for pricing
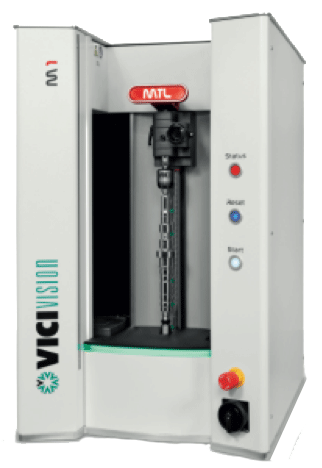
The M1 offers top of the range performance in a practical and compact optical measuring machine for turned parts.
Compact and ergonomic, the ideal tool to flank multi-spindle lathes or sliding head lathes. From simple fittings to small shafts measuring up to 60×300 mm.
M1 embraces the concepts of ergonomics, designed to improve use in production. Now even faster, it reduces measuring times and sets a new bar in its sector.
| Vici Vision | M1 | M2 | M3 |
|---|---|---|---|
| Measuring Field | 300 x 60 mm | 600 x 140 mm | 900 x 140 mm |
| Max. Loadable Sizes | 315 x 9120 mm - 10 Kg | 625 x 240 mm - 30 Kg | 925 x 240 mm - 30 Kg |
| Accuracy Ø-L | 2+D[(mm)/100)] μm 5+L[(mm)/100)] μm | 2+D[(mm)/100)] μm 5+L[(mm)/100)] μm | 2+D[(mm)/100)] μm 5+L[(mm)/100)] μm |
| Repeatability Ø-L | 0,4 μm / 3 μm | 0,4 μm / 3 μm | 0,4 μm / 3 μm |
| Power Supply: | |||
| Voltage | 230 V | 230 V | 230 V |
| Frequency | 50/60 Hz | 50/60 Hz | 50/60 Hz |
| Nominal Power | 1,73A | 1,73A | 1,73A |
M2
Please contact us for pricing
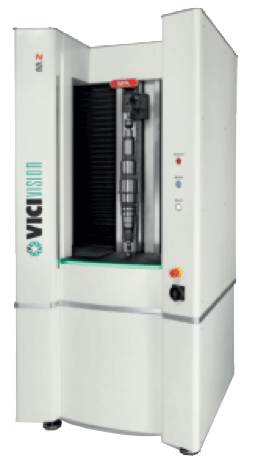
Now even faster, this series reduces measuring times and sets a new bar in its sector.
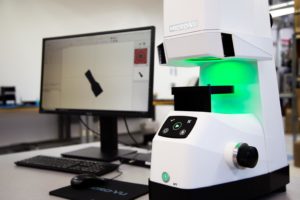
The live image of the part displayed by the software, combined with the LED illuminated extensive working area, gives a clear vision of the conditions of the component being measured.
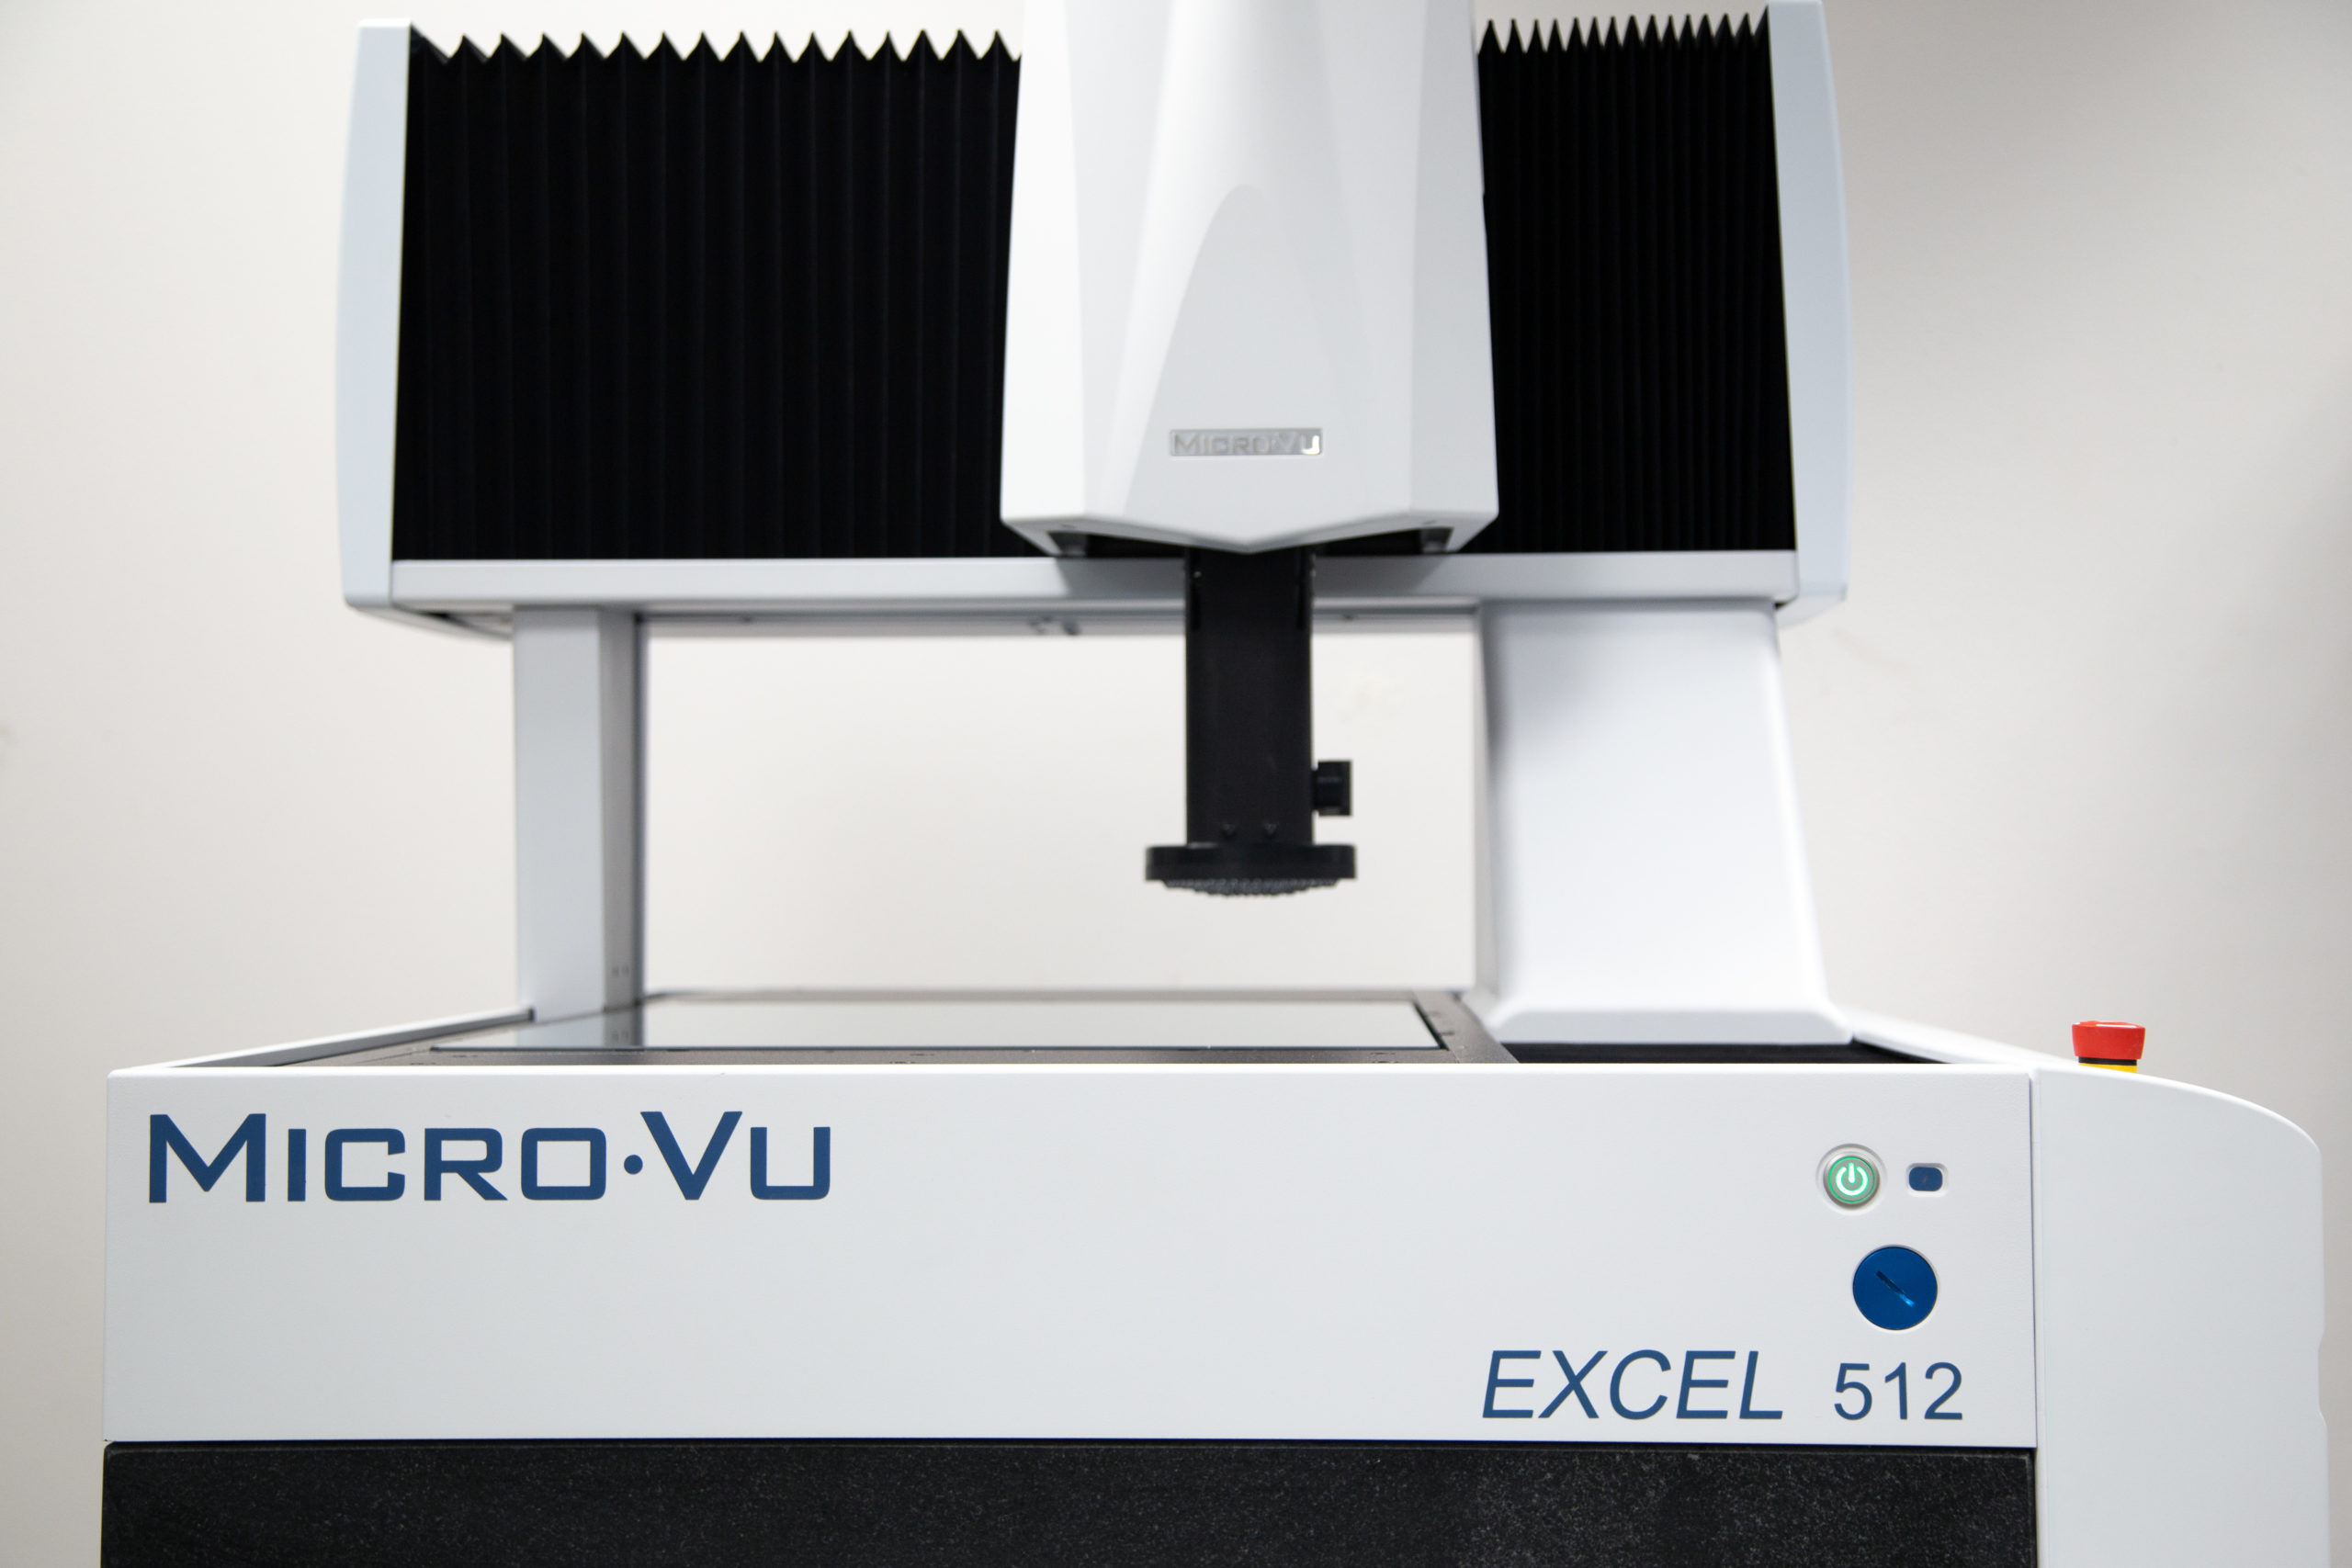
The retractable sensors enabled during loading and unloading provide reinforcement, with additional one of a kind protective bumpers. The ergonomic piece clamping lever has a considerably wide grip, which is suitable both for left and right-handed operators and prevents obstruction of the view when clamping or unclamping the part.
The M series measures small components as easily as large shafts, capturing the finest details such as ridges and radii.
M2 and M3 offer an increased load capacity that allows elements up to 240 mm in diameter to be positioned.
| Vici Vision | M1 | M2 | M3 |
|---|---|---|---|
| Measuring Field | 300 x 60 mm | 600 x 140 mm | 900 x 140 mm |
| Max. Loadable Sizes | 315 x 9120 mm - 10 Kg | 625 x 240 mm - 30 Kg | 925 x 240 mm - 30 Kg |
| Accuracy Ø-L | 2+D[(mm)/100)] μm 5+L[(mm)/100)] μm | 2+D[(mm)/100)] μm 5+L[(mm)/100)] μm | 2+D[(mm)/100)] μm 5+L[(mm)/100)] μm |
| Repeatability Ø-L | 0,4 μm / 3 μm | 0,4 μm / 3 μm | 0,4 μm / 3 μm |
| Power Supply: | |||
| Voltage | 230 V | 230 V | 230 V |
| Frequency | 50/60 Hz | 50/60 Hz | 50/60 Hz |
| Nominal Power | 1,73A | 1,73A | 1,73A |
M3

Please contact us for pricing
Now even faster, this series reduces measuring times and sets a new bar in its sector.
The live image of the part displayed by the software, combined with the LED illuminated extensive working area, gives a clear vision of the conditions of the component being measured.
The retractable sensors enabled during loading and unloading provide reinforcement, with additional one of a kind protective bumpers. The ergonomic piece clamping lever has a considerably wide grip, which is suitable both for left and right-handed operators and prevents obstruction of the view when clamping or unclamping the part.
The M series measures small components as easily as large shafts, capturing the finest details such as ridges and radii.
M2 and M3 offer an increased load capacity that allows elements up to 240 mm in diameter to be positioned.
| Vici Vision | M1 | M2 | M3 |
|---|---|---|---|
| Measuring Field | 300 x 60 mm | 600 x 140 mm | 900 x 140 mm |
| Max. Loadable Sizes | 315 x 9120 mm - 10 Kg | 625 x 240 mm - 30 Kg | 925 x 240 mm - 30 Kg |
| Accuracy Ø-L | 2+D[(mm)/100)] μm 5+L[(mm)/100)] μm | 2+D[(mm)/100)] μm 5+L[(mm)/100)] μm | 2+D[(mm)/100)] μm 5+L[(mm)/100)] μm |
| Repeatability Ø-L | 0,4 μm / 3 μm | 0,4 μm / 3 μm | 0,4 μm / 3 μm |
| Power Supply: | |||
| Voltage | 230 V | 230 V | 230 V |
| Frequency | 50/60 Hz | 50/60 Hz | 50/60 Hz |
| Nominal Power | 1,73A | 1,73A | 1,73A |
MTL X5
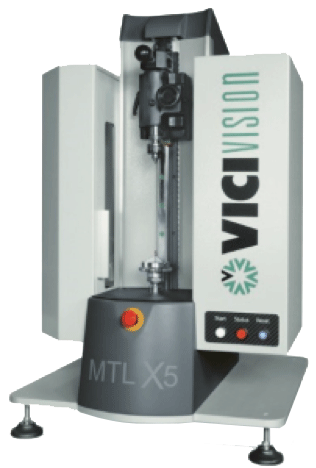
Please contact us for pricing
MTL X5 is an optical measuring machine specifically designed to measure micro-mechanical parts, dental implants, watch parts and micro-parts in general.
This high resolution machine detects even the smallest details. Measuring tools designed for every need: static measurements, hexagon and threads analysis.
| Vici Vision | MTL X10 | MTL X5 |
|---|---|---|
| Measuring Field | 100 x 8 mm | 100 x 16 mm |
| Max. Loadable Sizes | 270 x 90 mm - 3 Kg | 270 x 90 mm - 3 Kg |
| Accuracy Ø-L | 2+D[(mm)/100)] μm 5+L[(mm)/100)] μm | 2+D[(mm)/100)] μm 5+L[(mm)/100)] μm |
| Repeatability Ø-L | 0,4 μm / 3 μm | 0,4 μm / 3 μm |
| Power Supply: | ||
| Voltage | 230 V | 230 V |
| Frequency | 50/60 Hz | 50/60 Hz |
| Nominal Power | 1,73A | 1,73A |
MTL X10

Please contact us for pricing
Designed for the watch making industry.
| Vici Vision | MTL X10 | MTL X5 |
|---|---|---|
| Measuring Field | 100 x 8 mm | 100 x 16 mm |
| Max. Loadable Sizes | 270 x 90 mm - 3 Kg | 270 x 90 mm - 3 Kg |
| Accuracy Ø-L | 2+D[(mm)/100)] μm 5+L[(mm)/100)] μm | 2+D[(mm)/100)] μm 5+L[(mm)/100)] μm |
| Repeatability Ø-L | 0,4 μm / 3 μm | 0,4 μm / 3 μm |
| Power Supply: | ||
| Voltage | 230 V | 230 V |
| Frequency | 50/60 Hz | 50/60 Hz |
| Nominal Power | 1,73A | 1,73A |
Techno
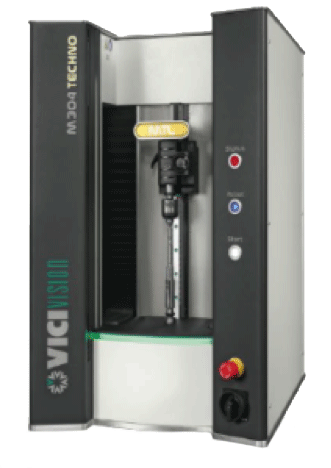
Please contact us for pricing and variations
The machine improves productivity. Operators are more independent during inspection and tool o sets can be adjusted before parts become out of tolerance in order to reduce the amount of rejects produced.
Dimensional control directly on the shop floor. Each part produced by the CNC lathe can be measured within the production environment.
Greater productivity also on smaller batches. Batch changing is fast and efficient.
One measuring system for multiple CNC lathes. A single system can operate next to multiple machining centers, involving more than one operator.
High resolution. Detailed images capture even minute features.
No more compromises. Given the wide scope of measurement ranges offered, this machine range is designed to adapt to current and future manufacturing demands.
Tested reliability. Specific expertise and carefully selected components have created a highly efficient range of solutions.
Heavy Duty. The load capacity of the largest machines has increased by up to 60 kg.
| Vici Vision Techno 300 Series | M304 | M306 | M309 | M314 | M318 |
|---|---|---|---|---|---|
| Measuring Field | 300 x 40 mm | 300 x 60 mm | 300 x 90 mm | 300 x 140 mm | 300 x 180 mm |
| Max. Loadable Sizes | 315 x 120 mm - 10 Kg | 315 x 120 mm - 10 Kg | 315 x 120 mm - 30 Kg | 315 x 240 mm - 30 Kg | 315 x 240 mm - 30 Kg |
| Accuracy Ø-L | 1,5 + D[(mm)/200)] μm 4 + L[(mm)/200)] μm | ||||
| Repeatability Ø-L | 0,3 μm / 1,2 μm | ||||
| Power Supply: | |||||
| Voltage | 230 V | ||||
| Frequency | 50/60 Hz | ||||
| Nominal Power | 1,73A | ||||
| Vici Vision Techno 600 Series | M604 | M606 | M609 | M614 | M618 |
| Measuring Field | 600 x 40 mm | 600 x 60 mm | 600 x 90 mm | 600 x 140 mm | 600 x 180 mm |
| Max. Loadable Sizes | 625 x 120 mm - 30 Kg | 625 x 120 mm - 30 Kg | 625 x 120 mm - 30 Kg | 625 x 240 mm - 30 Kg | 625 x 240 mm - 30 Kg |
| Accuracy Ø-L | 1,5 + D[(mm)/200)] μm 4 + L[(mm)/200)] μm | ||||
| Repeatability Ø-L | 0,3 μm / 1,2 μm | ||||
| Power Supply: | |||||
| Voltage | 230 V | ||||
| Frequency | 50/60 Hz | ||||
| Nominal Power | 1,73A | ||||
| Vici Vision Techno 900 Series | M906 | M909 | M914 | M918 | |
| Measuring Field | 900 x 60 mm | 900 x 90 mm | 900 x 140 mm | 900 x 180 mm | |
| Max. Loadable Sizes | 925 x 120 mm - 30 Kg | 925 x 120 mm - 30 Kg | 925 x 240 mm - 60 Kg | 925 x 240 mm - 60 Kg | |
| Accuracy Ø-L | 1,5 + D[(mm)/200)] μm 4 + L[(mm)/200)] μm | ||||
| Repeatability Ø-L | 0,3 μm / 1,2 μm | ||||
| Power Supply: | |||||
| Voltage | 230 V | ||||
| Frequency | 50/60 Hz | ||||
| Nominal Power | 1,73A | ||||
| Vici Vision Techno 1200 Series | M1209 | M1214 | M1218 | ||
| Measuring Field | 1250 x 90 mm | 1250 x 140 mm | 1250 x 180 mm | ||
| Max. Loadable Sizes | 315 x 120 mm - 10 Kg | 315 x 120 mm - 10 Kg | 315 x 120 mm - 30 Kg | ||
| Accuracy Ø-L | 2+D[(mm)/100)] μm 5+L[(mm)/100)] μm | ||||
| Repeatability Ø-L | 0,4 μm / 3 μm | ||||
| Power Supply: | |||||
| Voltage | 230 V | ||||
| Frequency | 50/60 Hz | ||||
| Nominal Power | 1,73A |
Vici Vision University

$3,500/year
-or-
1,950 every 6 months
-or-
$950 for 30 Day Access
Need More Information?
Call 480-626-8131
M1
M2
M3
MTL X5
MTL X10
Techno Series
Prima Series
Geomagic Control X Essentials

